|
Small business tips & tricks Author: Beatrice Pipero
So, what should you do? Let’s break down the process step by step:
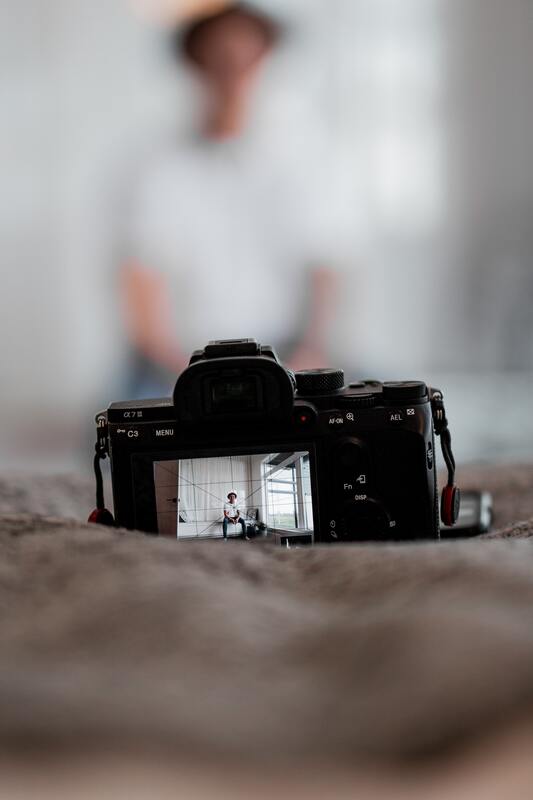
1. Don’t panic, you’ve got this Let’s be realistic, you won’t become a photographer in one day. Firstly, select someone from your team or even yourself to take on this job. The most creative person would be the best pick, but even without a creative bone in your body, with some basic techniques, you can still achieve great results. 2. Find the perfect venue Scouting out the perfect location doesn’t have to be overly complicated, just start by writing down some nice areas or backdrops you like near the office, such as a funky brick wall or a nice coffee shop with a trendy lounge area, or even just a well-lit wall or a corner of your office with some nice plants. Selecting a good location is crucial but other factors also need to be considered relating to location; say you decide to get the shots from your office terrace, then you need to first find out the weather forecast, the best time of day, and if at that trendy café, when is the best time to not get in the way of other people? Before work or during the lunch rush probably isn’t a great idea—and be sure to ask permission first. One last thing to think about with venue is consistency (check out Cummins & Partners Instagram page). Do you want all the images to match? This will create a strong image and constancy, and will require going back to the same spot each time you hire a new member. On the other hand, you could go to the complete opposite and mix it up, going for something personal to each team member. Perhaps they would like to select a spot to reflect themselves and the work they do? This is trickier, but can still been consistent if you take the images in the same style and use the same lighting. 3. Light, light & more light Light is essential, even the best location can be ruined with bad lighting. For a good headshot, it is key to favour neutral light, but if your team member is struggling to see, then the light is too harsh (check out Etsy Australia ‘Our Team’ page). Strong light will also wash out their expression and detail. On the other hand, using a very dark location won’t make it easy to get high quality photos, especially if you don’t have experience using lighting. To sum up strong lights and darks are great for moody artistic shots but not for the vast majority of companies. 4. Choosing the right equipment Yes, you can use your phone. Nowadays mobile phones cameras take high quality photographs, so if you don’t have the latest 1000-megapixel full frame monster, your phone will be sufficient, but if at all possible use a tripod for stability. If you have a camera like a good point and shoot or even better a DSLR but lack the skills to fully utilise it, the automatic mode can suffice. With a few tweaks once you have uploaded the images to your computer the images should look great. There are always plenty of videos online to help, just type the make and model number of your camera into YouTube and hey presto! For post processing your images, ideally you will have someone in the office who is a whiz at Photoshop, Lightroom or any number of free alternatives. But if not, again don’t worry you can simply click on any image in your computer and select the modify button and make some minor adjustments. This can also be done in most cameras, but the small screen can be rather deceptive. And, most importantly, any modifications you make to one image should be carried across all the photos for consistency—while practicing some restraint, please no crazy filters and nothing Instagrammy. 5. Give your employees some tips on potential outfits Unless your office has a uniform, outfits will likely differ widely, but you can always recommend that everyone wear either a white or black shirt. Again, this is best discussed with your staff and you can come to an agreement. Not only is it best to involve your staff, but please let them know in advance and also shoot out a quick friendly reminder the day before, no one wants to suddenly realise they are getting their photo taken and haven’t had any time to prepare. The idea behind keeping the outfits consistent is to get your team’s individual personality to be the star of the show, but in pursuit of creating a strong and professional brand identity there must still be flexibility and room for the team to represent themselves. Also, be sure to let them check the photos you are taking during the shoot, always take more than you need, and again show them the final product and get their consent before publishing online. Respect any staff who do not wish to have their photo published. 6. Visualise the photo before you take it When taking the shots, visualise before you take the photos, imagine you are a film director holding out your thumbs and index fingers to frame the perfect shot. This is a surprisingly effective technique even if done only mentally. A few more tips before we finish up, during the shoot, don’t be afraid to pose your subject, ask them to look left, right or adjust a stray clump or hair or who knows, even a piece of lunch lodged in their teeth. Also, if the subject is taller or shorter than you, try and crouch down a little or even stand on a little stool to get them face on, and do your best to get them relaxed, this may involve turning the radio up, making small talk or a light-hearted joke. 7. Have fun! Finally, have fun. Make the person laugh as it will break the ice for sure (UAP did a great job!). Capture all the smiles, it will help a lot if the person feels comfortable with the environment and the person who is taking the shots. The camera will capture the mood. In the end there is no right or wrong way, but do your research, and check look for some examples for inspiration. Here are some I’ve prepared earlier from a range of Melbourne companies to get your creative juices flowing.
0 Comments
Leave a Reply. |
Archives
April 2022
Categories |
 RSS Feed
